How to install a Bifold Door
Jun 03, 2024
Before Installing Bifold Doors: Essential Tools You'll Need
Bifold doors are a popular choice for maximizing space and creating a seamless transition between indoor and outdoor areas. Whether you're renovating your home or embarking on a new construction project, installing bifold doors can add elegance and functionality to your space. Before you begin the installation process, it's crucial to have the right tools on hand. Here are the essential tools you'll need:
Measuring Tape
Pencil
Cordless Drill
3/32" Drill Bit
Phillips Screwdriver
Flathead Screwdriver
Level
Hacksaw or Fine Tooth Blade
After you prepare well tools
• Read all instructions carefully.
• Protect your eyes by wearing safety goggles.
• Keep the installation area free of clutter.
• Follow each step completely before starting the next step.
Step One
Mount Track to header centering the track between both sides ofthe opening. The Upper Pivot should be on the pivoting side of the opening. Mount Track 3/4" (19mm) from front edge of jamb.
Use screws # 1-1/4" (32mm) included
Step Two
Installing Hinges
Lay panels side by side on a flat, clean surface. Push the panels together and install hinges with 5/8" screws provided.
HINGE POSITION
Top: 7" (18cm) from top of panel
Bottom: 11" (27.5cm) from bottom of panel
Center: Center Line of panel
Note: Panels not included
Step Three
Mount pivot brackets to doors
Fasten Pivot brackets as shown above. Mount plates according to the direction of door swing; right swing or left swing.(Above example is left hand swing. Reverse Pivot brackets for Right hand swing)
Pre-drill mounting screw holes before fastening 1" Flat head screws included.
Step Four
Installing Jamb Bracket
Mount the Jamb bracket by placing it directly under the Track on the pivot side. Fasten only the top screw hole to allow adjustment up and down to give clearance between Jamb Bracket and the bottom of the
door. Once positioned use 2x 1 1/4" flat head screws to secure in place.
Use a Phillips screw driver or wrench provided to adjust the Pivot Holder to align with Pivot hanger on bottom of door.
Step Five
Hanging Doors
Ensure track pivot lock is in the unlocked position. Fig. (A).
Fold doors and insert Pivot bracket (1) into track slot, slide tab lock toward pivot bracket to lock in place. Depress nylon pivot
(2) and insert into track. Use wrench to turn adjustment screw and adjust pivot holder left or right.
Step Six
Attaching Pull
Attach the Pull to the inside stile of the non-pivoting door panel as shown. Drill a 3/16" (5mm) diameter hole 36" from the bottom of the door and 1 1/2" from the vertical edge of the stile. Attache Pull with the
screw provided.
Note: It is best to drill from the front of the door to the back. Once pull is installed adjust the door stop on the opposite end of the track. Use a Phillips screwdriver to loosen the screw and move left or right until it
touches the edge of the door.
Having these essential tools readily available before you begin the installation of bifold doors will ensure a smoother and more efficient process.
It's always recommended to follow the manufacturer's instructions and, if needed, consult with a professional for guidance.
By equipping yourself with the right tools and taking the necessary precautions, you'll be well-prepared to successfully install bifold doors and enjoy their benefits in your space.
shrjrov is professional
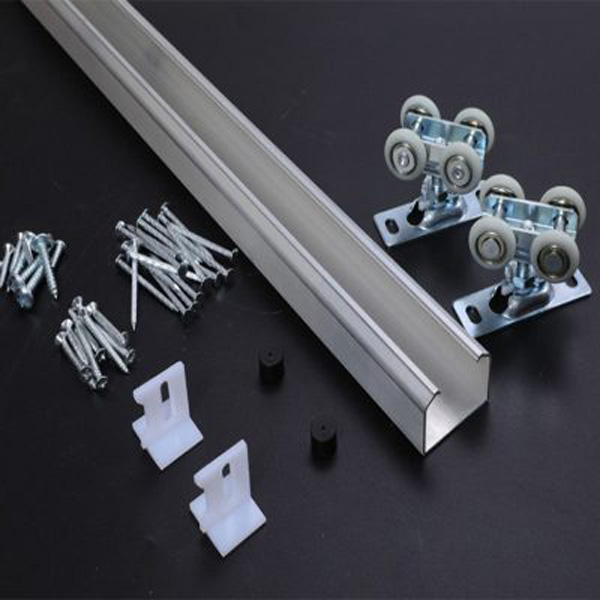
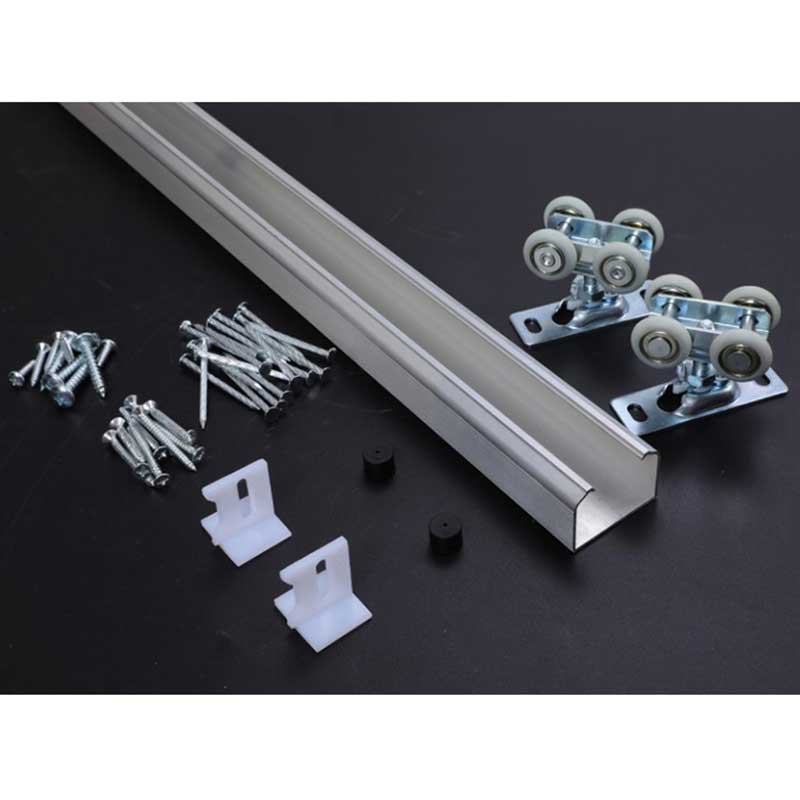
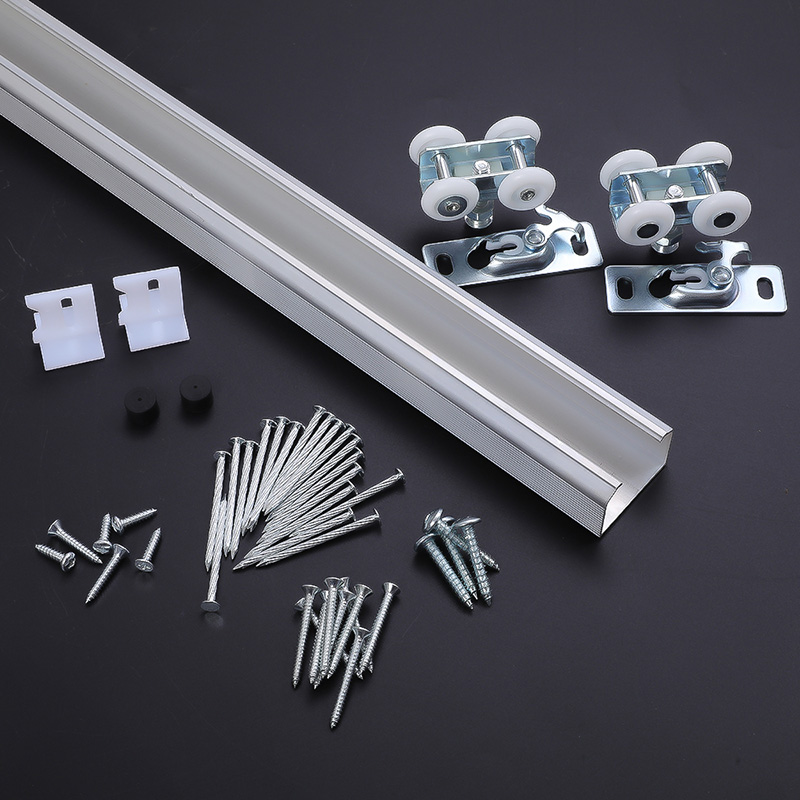
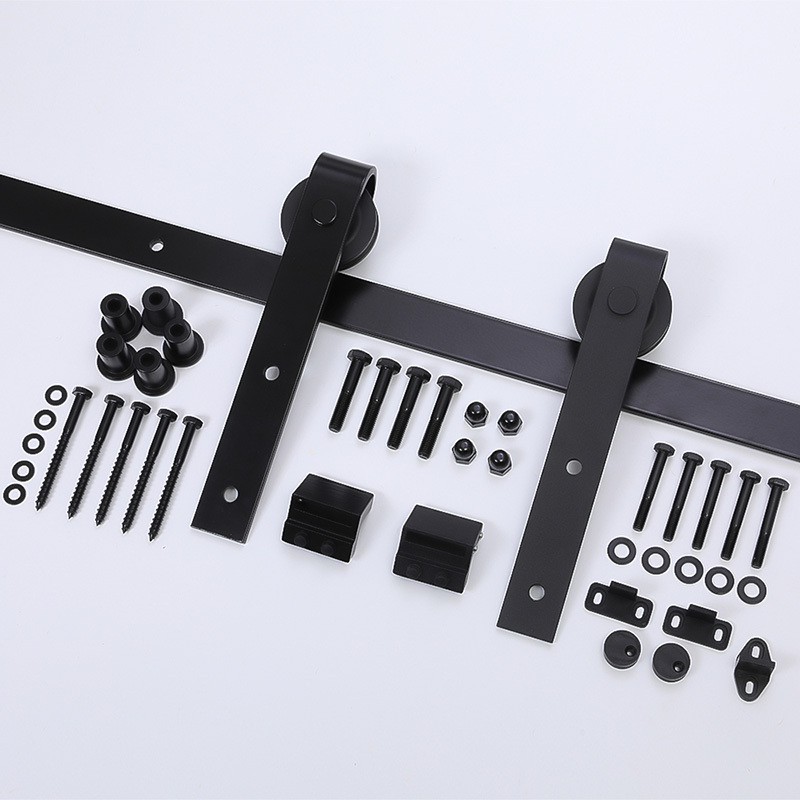
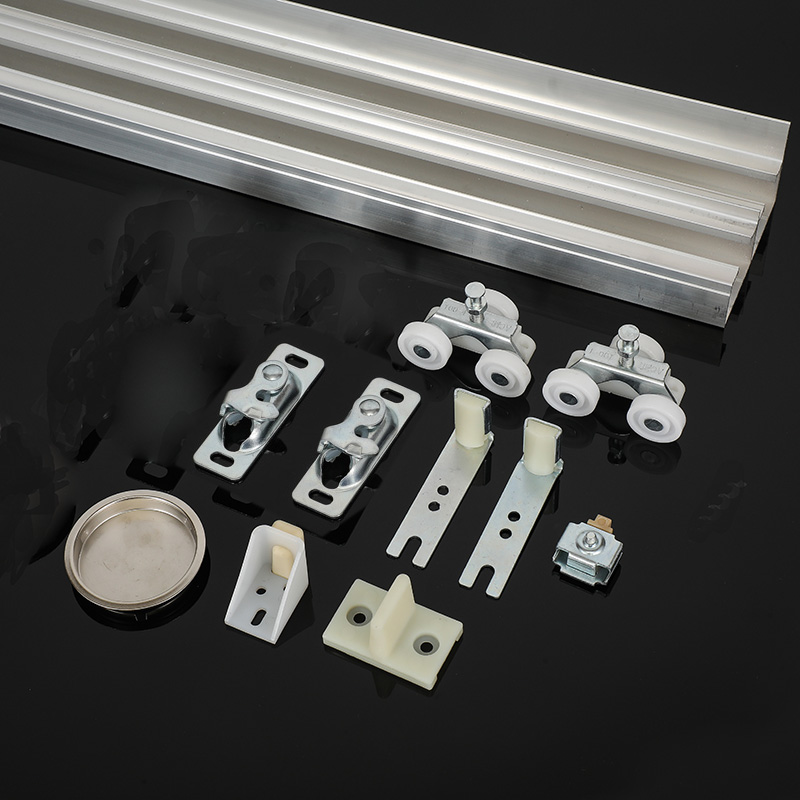
Sliding Door Hardware Kit manufacturer,get more products from us quickly!


 English
 français
 Deutsch
 русский
 español
 português
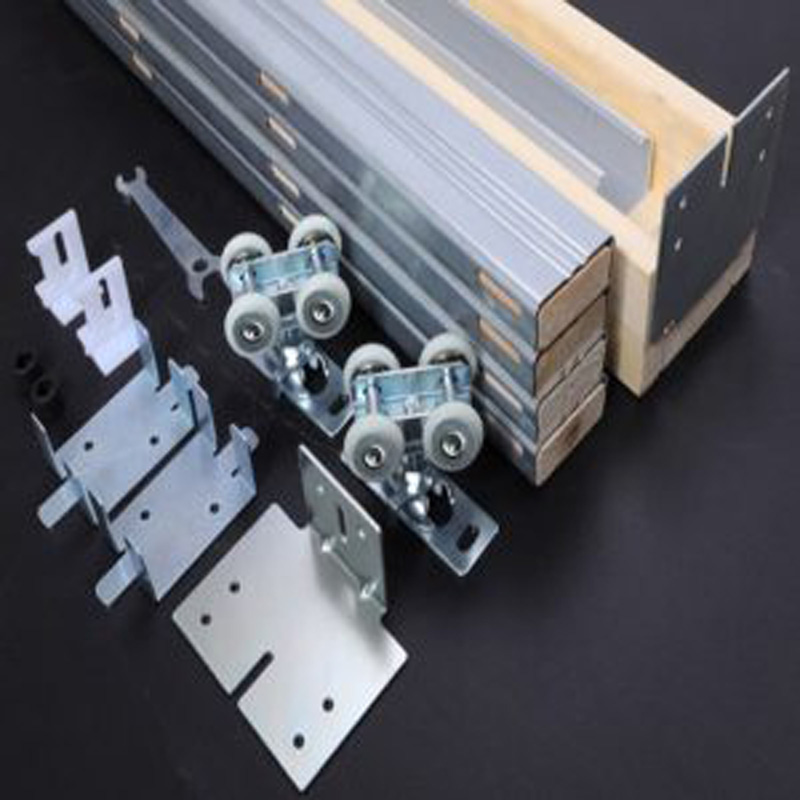
 IPv6 network supported